I am so pleased to welcome by Sarah Zunker (Prep Teacher in Sunny Queensland) as my guest blogger this week. Sarah is a member of the Australian Prep Teachers' FaceBook group and after I read her post on FaceBook, I invited her to share further via my blog as I was so impressed with the work she has been doing with her Prep class (5 year olds) and directed drawing.
The Magic
Hat…The Magic Hat… It moved like this… It moved like that!
 When I
opened my classroom curriculum box I was excited to see the Mem Fox classic
‘The Magic Hat’. I knew I didn’t want to
do the typical paper hat activity to accompany our Literacy lessons so I set to
work thinking of how I could challenge my Preppies to create some quality art.
When I
opened my classroom curriculum box I was excited to see the Mem Fox classic
‘The Magic Hat’. I knew I didn’t want to
do the typical paper hat activity to accompany our Literacy lessons so I set to
work thinking of how I could challenge my Preppies to create some quality art.
I decided on
a directed drawing lesson using pen and paint.
I promise that if you give this lesson a go, you will be amazed with the
results and be so proud of your clever, little artists.
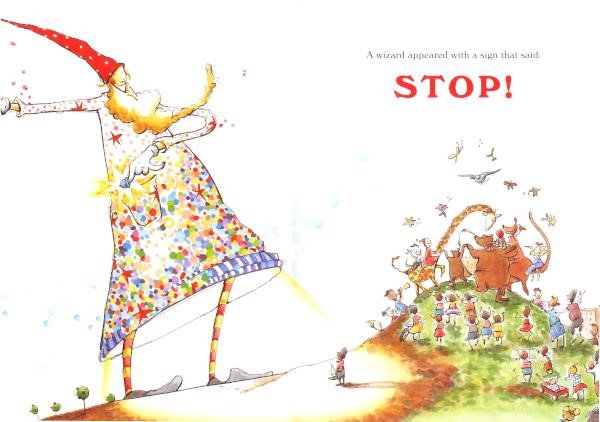
 After
you’ve read the book have a discussion around proportion. The wizard is giant size and the town looks
really small in comparison.
After
you’ve read the book have a discussion around proportion. The wizard is giant size and the town looks
really small in comparison.
When you
plan out your artwork think about the amount of space the wizard will take up
and trace that space with your finger.
Now think about where the hill is going to go. Use your finger to trace
a line where the hill will be.
Now we’re ready to
start the drawing process. We start at his feet and work our way up to his hat.
Follow the order below, stopping to check that everyone is ready before you
start the next step.
1.
Draw the hill.
2.
Draw his shoes then his legs.
3.
Draw the bottom of his gown.
4.
Draw the sides of his gown up to his armpits.
5.
Now it gets a bit tricky… Draw his head and
beard.
6.
Ok time to join up his head and body. Draw his arms, hands and wand.
7.
Add his hat and some magic coming out of his
hands.
8.
Draw a couple of tiny trees on the hill.
Ok we’re ready for the
painting process.
Use COTTON
BUDS to:
1. Dot-paint his gown in a rainbow of colours. Use a dabbing or stamping technique for this.
2. Paint red
and yellow stripes on his socks.
3. Paint his
hat red and the wand yellow. Don’t
forget to paint the magic coming out of the wand and his hands.
Finish with
a green paint wash for the hill.
Here’s how
to make a paint wash…
1. Put about a teaspoon of
regular paint into a paint cup
2. Add about 3/4 cup water
3. Mix really well with a thick paint brush
*Do a little test sheet and if the paint is not transparent enough just add
more water and mix again.
The finishing touch is to mount the
artwork onto card to create a border. Go
ahead and give it a go… I promise they will amaze you with the results!
RESOURCES:
A3 PAPER
BLACK
MARKERS OR FELT PENS
PAINT (red,
green, yellow, blue, pink, orange)
COTTON BUDS
THICK BIG
PAINT BRUSH (for paint wash)
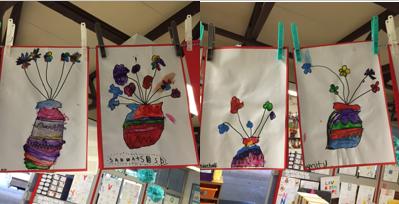
 You can use the same technique and resources to create a
Vase of Flowers artwork that is sure to impress! All of the children followed the same
directions, yet every artwork is so unique.
See the images left and below:
You can use the same technique and resources to create a
Vase of Flowers artwork that is sure to impress! All of the children followed the same
directions, yet every artwork is so unique.
See the images left and below:
Thanks so much Sarah - your students should be so proud of their wonderful art work :)
Have a terrific week everyone :)


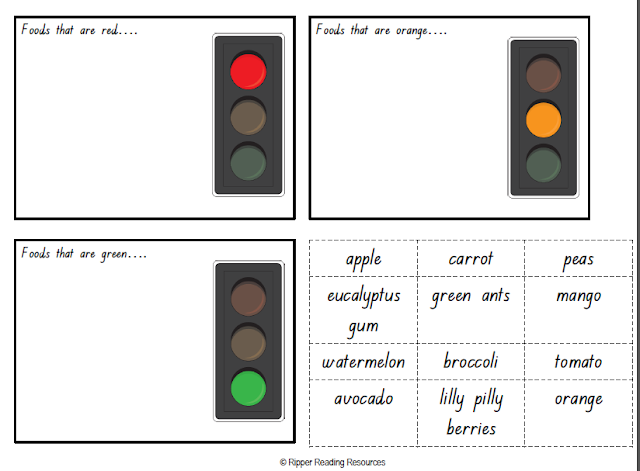
 What's terrific about this picture book is that it introduces children to different nutritious foods (fruit and vegetables) according to their colours. It is also terrific to use as a mentor text to reinforce learning about adjectives. It introduces students to traditional fruits and vegetables, but also traditional Australian Indigenous foods. The picture book includes information about the bush tucker found in "Budburra's Garden" at the back of the book and recipes to "Colour Yourself Healthy". I really think this is a powerful picture book with potential to be used on many levels.